
How to Set Up Liability Waivers & Consent Forms in Porter
Porter’s Waiver feature makes it simple to create, manage, and customize the client consent and liability documentation needed for tattoo and piercing services. Follow the steps below to set up your waiver and ensure your shop and clients are covered.
1. Accessing Waiver Settings
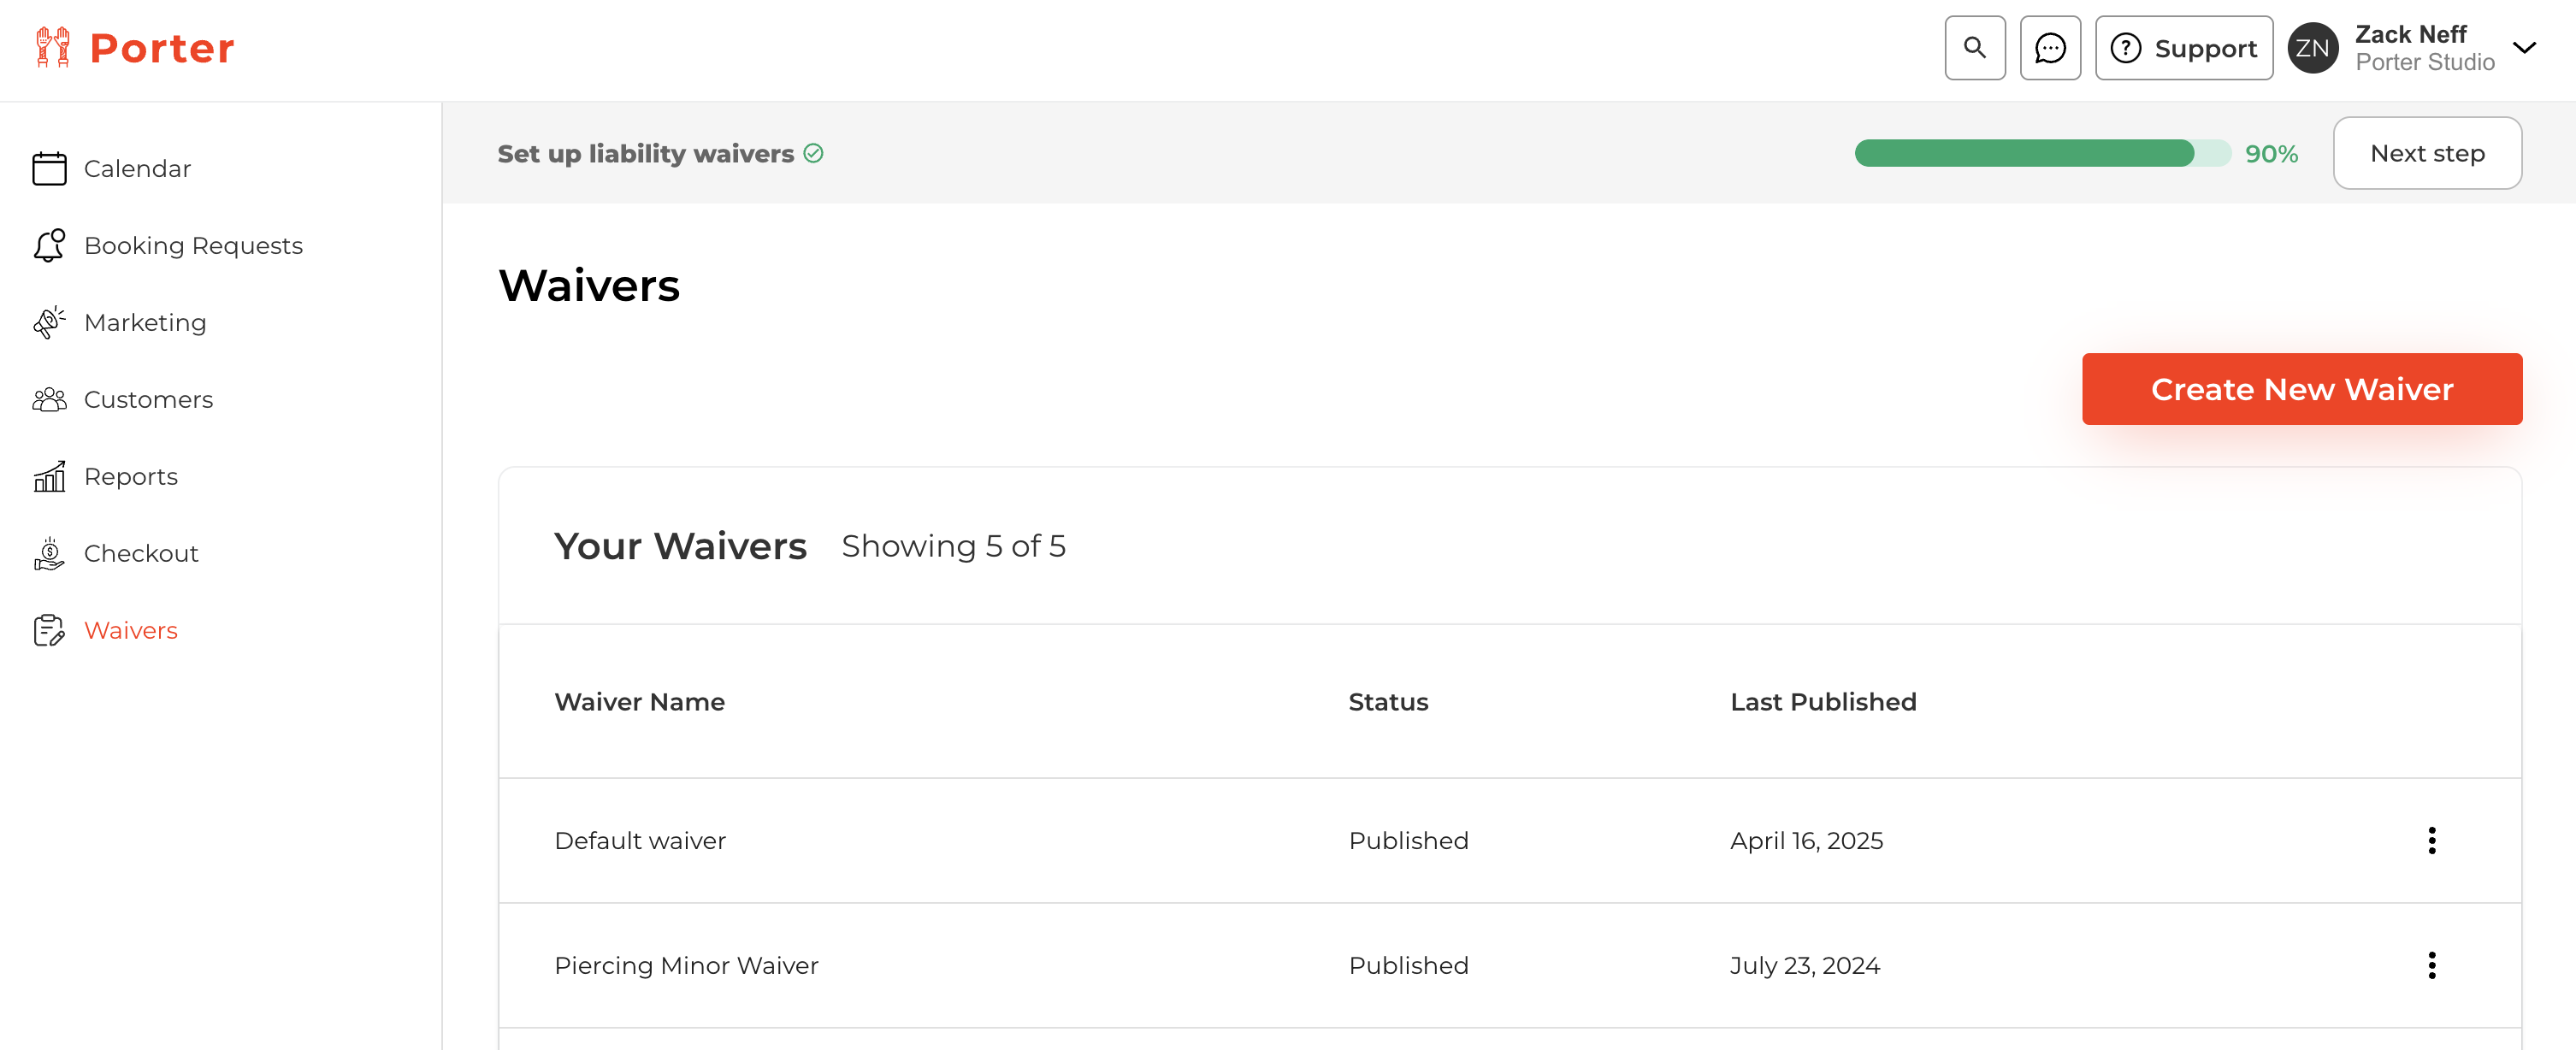
- Log in to Porter using a browser.
- From the left-hand menu, click Waivers.
- If you don’t have a waiver yet, click Create a New Waiver. Otherwise, click the name of any existing waiver to edit it.
2. Configuring Your Waiver
Under each waiver, you’ll find multiple toggleable sections. Use the switch next to any section to turn it on (green) or off. Each section has its own customization options:

- Static Liability Waiver
A standard document (usually a PDF) that clients must read and sign. By default, Porter provides a static waiver, but you can upload your own by clicking Upload Static Waiver. - Acknowledgements
A series of checkboxes clients must manually check to confirm they’ve read and accepted key points. Click Edit Acknowledgements to modify the default list, add new items, or remove any acknowledgements. - Medical History
Collects and stores clients’ relevant medical conditions. By default, clients can mark off any conditions from a preset list, but you can edit these by clicking Edit Medical History. - ID Upload(s)
Allows clients to upload ID documents. There are three ID types: driver’s license, birth certificate, and parent/guardian ID (useful for minor piercing waivers). Click Edit ID Upload Settings to enable or disable each upload option. - Service Provider Section
A set of fields the artist or service provider must complete after the client finishes their portion. By default, this section includes fields for provider name, service description, ink lot/catalog number, and a provider signature. Click Edit Provider Settings to add any custom questions or instructions. - Address Collection
Turn this on if your state or region legally requires the client’s physical address as part of the waiver.
When you’ve finished adjusting these sections, you can click Preview to see exactly how the waiver will appear to clients. Once you’re happy with it, click Publish.
3. Sending & Managing Waivers
- Automated Reminders
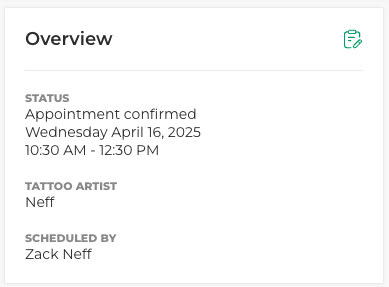
One hour before the appointment, Porter sends a text message prompting the client to complete their waiver. On your calendar, a colored waiver icon indicates the waiver’s status:- Green: Waiver is completed. Click the icon to view it.
- Red: Waiver is not yet completed by the customer.
- Orange: Client's portion is done, but the service provider's section is pending.
- Resend & Complete on Device
If a client hasn’t completed the waiver on the day of their appointment, open the appointment in the calendar. Click the three dots (…) at the top right of the appointment, then select:- Resend Waiver Link to send a new SMS reminder.
- Complete waiver on device if the client is present without phone access. They can fill it out on your shop’s device or computer.
4. Creating Multiple Waiver Versions
- Creating Additional Waivers
Repeat the steps above in the Waivers section to set up additional versions (e.g., Minor Piercing Waiver, Permanent Makeup Waiver). - Assigning a Waiver to a Service
Click your name in the top-right corner and select Manage Shop. Navigate to the Booking tab and scroll down to the section for other services. Add or edit any service and select which waiver version should be used for that specific service.
Conclusion
With Porter’s flexible waiver system, you can meet your shop’s legal and regulatory requirements while giving clients a streamlined, user-friendly experience. By tailoring each waiver’s sections, sending automated reminders, and configuring different versions for specialized services, you’ll ensure both efficiency and compliance in your studio.
If you have any additional questions or need technical support, don’t hesitate to reach out to our support team. We’re here to help you make the most of Porter’s features!